Thinning Scissors vs Texturizing Scissors vs Chunking Shears: What's the Difference?
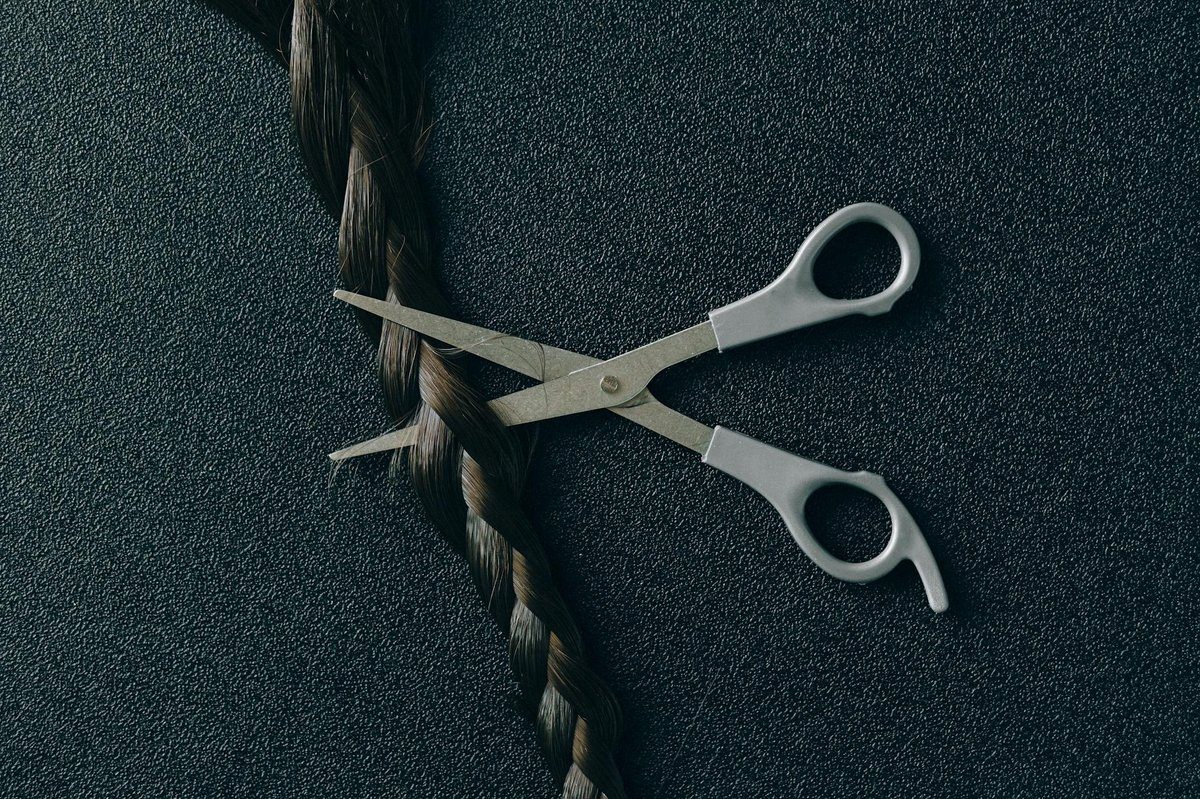
Every hairdressing student learns the same lesson the hard way. You reach for your thinning shears, make a few passes, and the result is either invisible or catastrophic. Too much removed. Not enough removed. Choppy lines where there should be smooth blending. Or worse, the dreaded shelf of bulk sitting right where you thought you thinned.
The problem is almost never your technique. It is the tool. The industry lumps three fundamentally different instruments under the umbrella of “thinning shears,” and the differences between them are not cosmetic. They determine how much hair you remove, where the weight falls, and whether the finished result looks blended or butchered.
Here is the breakdown that should have been in your cosmetology textbook.
The Three Categories at a Glance
Before we dive deep, here is the overview. Scan this table, then read the detailed sections below.
| Feature | Thinning Scissors | Texturizing Scissors | Chunking Shears |
|---|---|---|---|
| Tooth count | 30-45 teeth | 14-28 teeth | 7-15 teeth |
| Cut rate per pass | 10-20% | 20-40% | 40-70% |
| Tooth spacing | Narrow, uniform | Medium, sometimes varied | Wide, uniform |
| Primary purpose | Blend and reduce weight subtly | Create movement and texture | Remove bulk rapidly |
| Best for hair types | Fine to medium | Medium to thick | Thick, coarse, very dense |
| Visibility of result | Invisible blending | Visible texture and movement | Dramatic weight removal |
| Technique difficulty | Low to moderate | Moderate | Moderate to high |
| Risk level | Low: forgiving | Medium: requires placement control | High: mistakes are visible |
| Price range | $100-$500 | $150-$600 | $100-$400 |
That table tells you what each tool does. Now let us talk about why it matters.
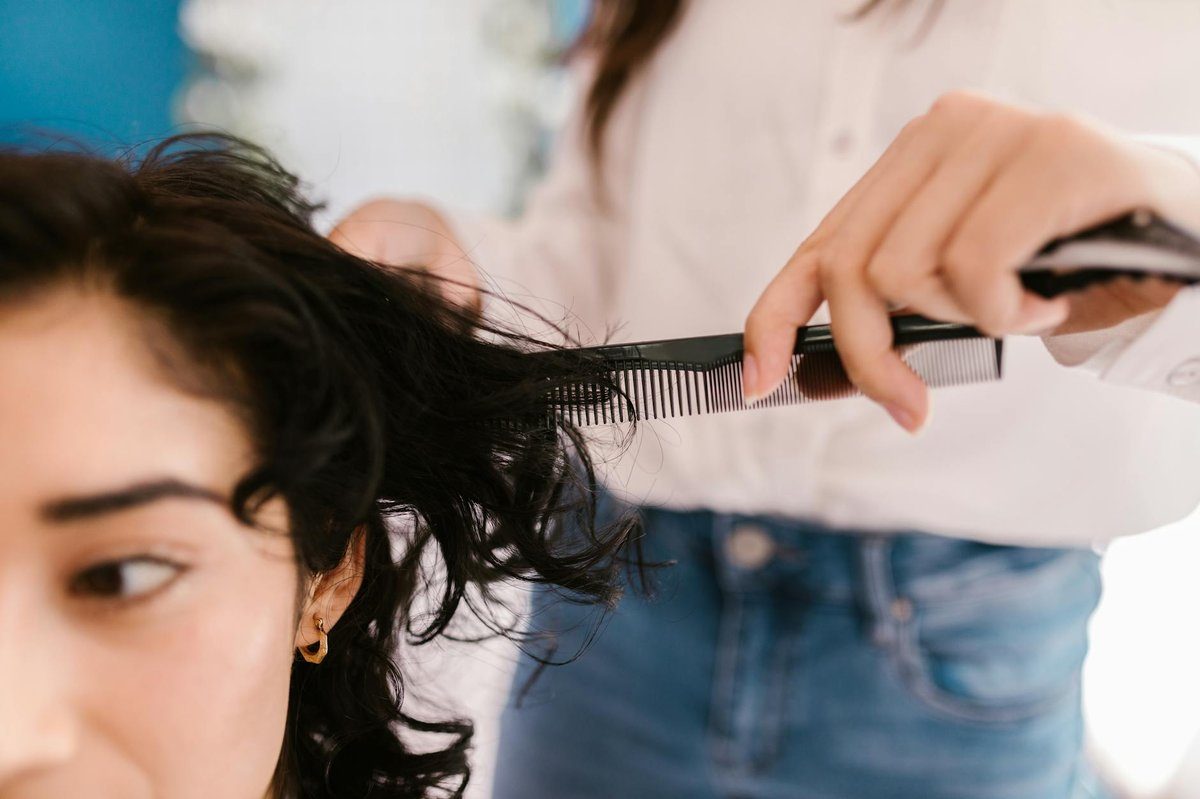
Thinning Scissors: The Subtle Blender (30-45 Teeth)
Thinning scissors are the most forgiving tool in this category. With 30 to 45 teeth packed tightly together, each tooth captures a thin section of hair while the gaps between teeth allow the rest to pass through uncut. The result is subtle, even weight removal that is nearly invisible in the finished style.
How They Work
Each closing of the blades removes approximately 10 to 20 percent of the hair captured between them. Because the teeth are closely spaced, the cut hairs are distributed evenly throughout the section. There is no visible line or step, just slightly less volume where you made the cut.
This makes thinning scissors ideal for:
- Blending weight lines from layered cuts
- Reducing bulk in medium-density hair without changing the shape
- Softening blunt perimeters for a more natural fall
- Finishing work where the cut is done and you just need to refine
Where They Fall Short
Thinning scissors cannot create deliberate texture. If you want visible movement, piece-y separation, or a lived-in look, a 40-tooth thinner will not get you there no matter how many passes you make. It will just keep removing small amounts of weight evenly, making the hair thinner without making it more textured.
They also struggle with very thick or coarse hair. A 40-tooth thinner removing 15 percent per pass on a head of dense, coarse hair means you are going to be making a lot of passes. That is slow, and too many passes in the same area can create a wispy, over-thinned look.
What to Buy
For a standard thinning shear, you want 30 to 40 teeth with a convex edge and a smooth action that does not grab. At the entry level, 440C thinning scissors from brands like Mina or Jaguar handle the basics well. For VG-10 steel with better edge retention, Yasaka, Kasho, and Joewell all make thinning shears that hold up through thousands of closings.
Texturizing Scissors: The Movement Maker (14-28 Teeth)
Texturizing scissors are where artistry enters the equation. With fewer, wider-spaced teeth, they remove more hair per pass and, crucially, they do it unevenly enough to create visible texture and movement.
How They Work
A texturizing scissor with 16 to 25 teeth removes approximately 20 to 40 percent of hair per pass. The wider gaps between teeth mean the cut sections are more separated from the uncut sections, creating alternating lengths within the same layer. That is what gives the finished cut its movement and texture.
Think of it this way: thinning scissors reduce quantity. Texturizing scissors change quality. The hair moves differently after texturizing because strands of different lengths interact with each other, creating natural separation and flow.
Where They Shine
Texturizing scissors are the right tool when you want:
- Visible texture and movement in medium to thick hair
- Piece-y, separated looks without point cutting every section
- Breaking up density while adding visual interest
- Creating soft, lived-in finishes on bobs and lobs
- Adding body to flat, heavy hair that lies too close to the head
Where They Demand Respect
A texturizer is less forgiving than a thinner. Place it wrong and you get a visible step or notch. Use it too close to the root area and you create short hairs that stick up as they grow out. Use it too close to the surface on fine hair and you get a see-through patch that takes months to grow back.
The technique matters. Most educators recommend working from the mid-shaft down, keeping the texturizer at least two inches from the root, and varying your angle to avoid creating a uniform pattern.
Building a Matched Thinning Kit
Ideally, your texturizer and thinner come from the same brand and steel grade. When they share the same handle geometry and blade action, the only variable between tools is the tooth count, which lets your muscle memory stay consistent. Brands like Kasho, Joewell, Ichiro, and Yasaka offer multiple thinning tooth counts within their lines, making it straightforward to build a matched kit without mixing manufacturers.
Chunking Shears: The Power Tool (7-15 Teeth)
Chunking shears are the most dramatic tool in the thinning family and the one most likely to be misused. With only 7 to 15 teeth spaced far apart, they remove 40 to 70 percent of hair in a single pass. That is not subtle. That is a power tool.
How They Work
The wide gaps between teeth mean large sections of hair are cut while large sections pass through untouched. The result is rapid, aggressive bulk removal that changes the weight distribution of the hair dramatically.
When to Use Them
Chunking shears earn their place in your kit when you are working with:
- Very thick, coarse hair that needs significant bulk removal in the interior
- Mens haircuts where rapid tapering of dense sections saves time
- Textured bob cuts where you want dramatic interior layering
- Any situation where you need to remove bulk deep inside the hair, far from the surface
When to Absolutely Not Use Them
Never use chunking shears:
- On fine or thin hair (the gaps are too wide, creating visible holes)
- Near the surface of any hair type (the chunked sections will be visible)
- Within two inches of the hairline or part line
- As a substitute for proper layering technique
The horror stories you hear about thinning shears (“they ruined my hair,” “I have chunks missing”) almost always involve chunking shears used inappropriately. Used correctly, deep in the interior of thick hair, they are invaluable. Used carelessly near the surface of fine hair, they are destructive.
Tooth Count Quick Reference
Here is a more granular breakdown of what each tooth count range actually does:
| Tooth Count | Category | Cut Rate | Best Use |
|---|---|---|---|
| 7-10 | Chunking | 50-70% | Heavy bulk removal, deep interior, thick hair only |
| 11-15 | Chunking / Heavy Texturizing | 40-55% | Moderate bulk removal, mens cuts, dense hair |
| 16-20 | Texturizing | 30-45% | Creating movement, piece-y texture, bobs |
| 21-28 | Light Texturizing / Heavy Thinning | 20-35% | Versatile texture and blending |
| 30-35 | Thinning | 15-25% | General blending, weight line removal |
| 36-45 | Fine Thinning | 10-18% | Subtle blending, fine hair, finishing |
Matching the Tool to the Hair Type
The biggest mistake professionals make is using one thinning tool for every client. Here is the matching guide:
Fine Hair
Stick to 35-45 tooth thinning scissors. Fine hair shows every cut, and wider-spaced tools will create visible holes. Use the thinner sparingly, mainly to soften weight lines and blend layers. Avoid chunking shears entirely.
Medium Hair
This is the sweet spot for texturizing scissors. A 20 to 30 tooth tool gives you visible movement without the risk of over-removal. You can also use a standard thinner for blending work. Medium hair is forgiving enough to tolerate a range of tools.
Thick or Coarse Hair
This is where you need multiple tools. Use chunking shears deep in the interior to remove the heaviest bulk, then switch to a texturizer for surface movement, then finish with a thinner for seamless blending. The three-tool approach on thick hair saves time and produces a better result than trying to do everything with one tool.
Curly or Coily Hair
Be extremely cautious with all thinning tools on curly and coily textures. Thinning removes weight that curls need for definition, and the shorter hairs created by thinning can cause frizz as they try to curl on their own. If you must thin curly hair, use a 35+ tooth thinner on dry hair only, and work conservatively. For more on matching scissors to curl patterns, see our hair type matching guide.
Building Your Thinning Tool Kit
For Students and Apprentices
Start with one 30 to 40 tooth thinning shear. This is your learning tool. It is forgiving, versatile, and teaches you proper placement without punishing mistakes too severely. Budget brands like Jaguar and Mina offer solid 440C thinners in this range that handle the learning curve without breaking your budget.
For Working Stylists
Two tools minimum: a standard thinner (30-40 teeth) for everyday blending and a texturizer (16-25 teeth) for creative work. This covers 90 percent of your clients. If you work with a lot of thick or coarse hair, add chunking shears as your third tool.
For Specialists
If texture work is your signature (think piece-y bobs, lived-in lobs, modern shags), invest in the best texturizer you can afford. Cobalt alloy texturizers from brands like Kasho, Joewell, or Juntetsu offer excellent edge retention, which matters because texturizers dull faster than cutting shears due to the tooth-on-blade contact pattern.
Steel Matters More Than You Think
Thinning scissors wear differently than cutting scissors. Every closure involves multiple teeth contacting the opposing blade, which means more friction points and faster dulling. Cheap steel in a thinning shear will go dull noticeably faster than the same steel in a cutting shear.
This is why steel grade matters even more for thinning tools. A 440C thinner will serve a student well for a year or more with moderate use. A VG-10 thinner will extend that to two years or more between sharpenings. And cobalt alloy thinning scissors can go significantly longer, which is worth considering if you are using your texturizer on every second client.
For the full picture on how steel type affects longevity, see our steel hierarchy guide.
Common Mistakes and How to Avoid Them
Using the wrong tool for the hair type. This is the number one error. A 10-tooth chunker on fine hair is going to leave visible steps. A 40-tooth thinner on dense, coarse hair is going to take all day. Match the tool to the density.
Working too close to the root. All thinning tools should be used from mid-shaft down, with the exception of specific bulk removal techniques deep in the interior. Short hairs near the root stick up, create frizz, and take months to grow out.
Too many passes in one area. Especially with texturizers and chunkers. One or two passes per section is usually enough. More than that and you risk over-removal that you cannot fix.
Not checking your work dry. Wet hair lies flat and hides the effects of thinning. Always rough-dry and check before continuing. What looks like a minor amount of thinning on wet hair can be dramatic when dry.
The Bottom Line
Thinning scissors, texturizing scissors, and chunking shears are three distinct tools with three distinct purposes. Using them interchangeably is like using a paring knife, a chef’s knife, and a cleaver as if they were the same thing. They are all knives, but they are built for different jobs.
Know your tooth counts. Match the tool to the hair. Start with a forgiving thinner, add a texturizer when you are ready for creative work, and only reach for chunking shears when the hair demands aggressive bulk removal.
For our detailed analysis of tooth counts, see why 30 teeth vs 40 teeth actually matters. For sizing guidance on all scissors, see 5.5 vs 6 vs 6.5 inches.
Thinning and Texturizing Options


Prices are approximate guides. Visit retailer for current pricing and availability.
Where to Buy
All three types of thinning tools are available through authorised retailers:
- USA: JPScissors.com: free shipping, full warranty coverage
- Australia / Global: JapanScissors.com.au: authorised distributor for all major Japanese brands
- Canada: JapanScissorShop.com: Canadian-based, no cross-border customs hassle
For the full list of trusted retailers by country, see our authorised retailer guide.
