Dry vs Wet Cutting Strategies
Choose the right moisture level for each technique to control precision, texture, and client comfort.
Moisture level is a creative decision, not a default setting. Choosing wet, dry, or hybrid cutting based on the hair type, desired shape, and finishing texture separates competent cutting from exceptional cutting.
Why moisture level matters
Every strand behaves differently depending on its water content. Wet hair stretches 30-50% beyond its dry length, which means a precise wet cut can spring up unpredictably once it dries, especially on curly or wavy textures. Dry hair shows its natural fall, movement, and density exactly as the client will see it at home, but it offers more resistance to the blade and demands sharper tools.
Understanding this interplay lets you choose the right moisture state for each phase of the cut rather than defaulting to one approach for the entire service.
When to cut wet
Wet cutting gives you maximum control over tension and section consistency. Use it for:
- Precision geometric shapes. Blunt bobs, one-length cuts, and graphic lines where millimetre accuracy matters.
- Foundational layering. Establishing initial guide lengths on advanced layering systems before refinement.
- Chemical services. Relaxers, perms, or colour treatments where even moisture distribution is essential for uniform results.
- Dense or coarse hair. Water softens thick cuticles, reducing blade resistance and allowing smoother sectioning.
- Training environments. Wet hair is more forgiving for developing consistent elevation and over-direction habits.
Recommended tools for wet cutting
| Specification | Recommendation |
|---|---|
| Edge type | Micro-serrated or semi-convex for grip on wet strands |
| Blade length | 5.5”–6.0” for controlled sectioning |
| Steel | VG-10 or ATS-314 for corrosion resistance against prolonged moisture |
| Handle | Offset for ergonomic wrist position during extended sectioning |
| Brands | Kasho Design Master, Juntetsu Cobalt series |
Wipe blades between sections to prevent water spots from accelerating oxidation.
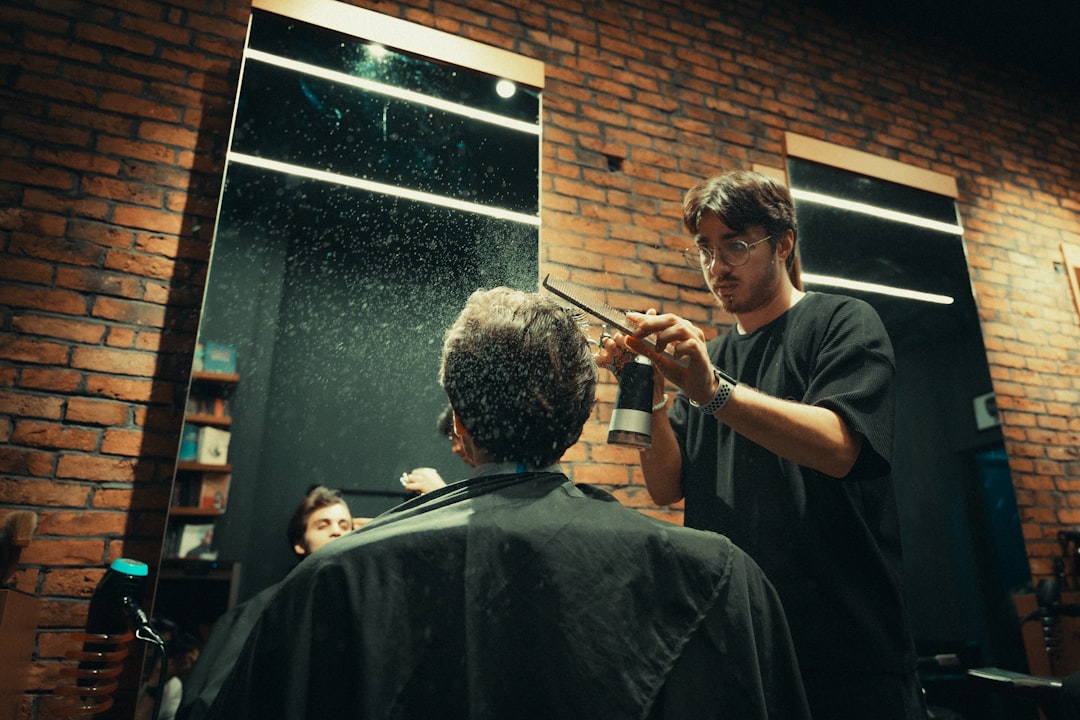
When to cut dry
Dry cutting reveals the truth of the hair. It shows you exactly where weight sits, how the hair moves, and what the client will actually see in the mirror at home. Use it for:
- Curl and wave customisation. Each curl cluster can be sculpted individually based on its natural spring pattern. See Texturizing Curl Patterns for detailed methods.
- Fine hair precision. Fine hair changes dramatically between wet and dry states; cutting dry eliminates guesswork on final density.
- Fringe and face-framing. These high-visibility areas benefit from dry finishing where you can match the cut to the client’s natural part and cowlick patterns.
- Texture refinement. Slide cutting, point cutting, and channel cutting all perform more predictably on dry hair.
- Consultation cuts. When a client is unsure about length, dry cutting lets them see results in real time.
Recommended tools for dry cutting
| Specification | Recommendation |
|---|---|
| Edge type | Polished convex; essential for clean cuts without pushing hair |
| Blade length | 5.5”–6.5” depending on technique |
| Steel | High-hardness cobalt alloys (60+ HRC) to maintain sharpness under dry resistance |
| Handle | Crane or offset for comfort during detail work |
| Brands | Ichiro VG10, Juntetsu Offset series |
Dry cutting demands sharper edges. A blade that performs adequately on wet hair may push or bend dry strands. Test sharpness on a single dry section before committing to a full dry cut.
Hybrid strategy: the professional standard
Most experienced stylists use a hybrid approach, switching moisture states at deliberate points during the service. This combines the structural control of wet cutting with the visual accuracy of dry finishing.
Step-by-step hybrid workflow
- Consultation and sectioning. Assess the hair dry, noting natural fall, density variations, and growth patterns.
- Shampoo and prep. Wet the hair for structural cutting. Apply a light leave-in conditioner for consistent slip if the hair is porous.
- Structural wet cut. Establish perimeter shape, foundational layers, and weight distribution using your preferred wet-cutting shears.
- Rough dry. Blow-dry to approximately 80% using fingers or a paddle brush to restore natural movement without imposing a styled shape.
- Dry refinement. Switch to your convex-edge shears. Refine layers, customise face-framing, adjust fringe length, and add texture with slide cutting or point cutting.
- Final check. Shake the hair out, let it settle, and make micro-adjustments. This is where the cut becomes personal.
Managing moisture mid-cut
- Keep a fine-mist spray bottle within reach to rehydrate individual sections that dry out during structural work.
- Avoid over-wetting sections you have already rough-dried; this resets the hair and defeats the purpose of the hybrid approach.
- Use product sparingly during dry phases. Serums and oils leave residue on blades that accelerates dulling.
- Section clips help isolate wet and dry zones so you maintain clear boundaries.
Tool selection by cutting phase
| Phase | Shear type | Edge | Length |
|---|---|---|---|
| Wet structural | Standard or semi-convex | Micro-serrated | 5.5”–6.0” |
| Dry texturising | Convex | Polished convex | 5.5”–6.0” |
| Dry slide cutting | Convex, hollow ground | Polished convex | 6.0”+ |
| Detail / fringe | Precision short blade | Convex | 5.0”–5.5” |
Having two shears (one for wet, one for dry) reduces cross-contamination of moisture and extends the life of both tools.
Client communication
Switching between wet and dry phases can confuse clients who expect the cut to happen in one continuous motion. Brief communication at each transition builds confidence:
- Before shampooing: “I’ll start by cutting the shape while your hair is wet for precision, then dry it and fine-tune to match your natural movement.”
- At the rough-dry stage: “Now I’m going to dry your hair so I can see exactly how it falls and personalise the layers.”
- During dry refinement: “These small adjustments make the difference between a good cut and one that works perfectly for your hair.”
This transparency also justifies the additional service time, which clients appreciate when they understand the purpose.
Troubleshooting
| Problem | Likely cause | Fix |
|---|---|---|
| Cut springs shorter than expected | Wet hair stretched during cutting | Account for 30-50% shrinkage on curly textures; finish dry |
| Dry hair pushes away from blade | Blade too dull for dry cutting | Sharpen or switch to a dedicated dry-cutting shear |
| Uneven density after drying | Inconsistent tension on wet sections | Use clips to maintain even tension; verify with dry check |
| Client anxious about dry cutting sounds | Dry hair is audibly louder when cut | Explain this is normal and indicates clean cuts |
| Blade corrodes quickly | Prolonged wet use without drying | Wipe blades between sections; follow daily maintenance protocol |
Maintenance crossover
Dry cutting increases edge wear significantly because dry hair has a harder cuticle than wet hair. Follow Convex Edge Maintenance and shorten sharpening intervals via the Frequency Matrix. If you run a hybrid workflow daily, plan to sharpen your dry-cutting shears 20-30% more frequently than your wet-cutting pair.
Training drill
Execute the same cut three ways on mannequin heads and compare results:
- Fully wet. Cut from start to finish on wet hair, then dry and evaluate.
- Fully dry. Cut from start to finish on dry hair and evaluate immediately.
- Hybrid. Structural wet cut, rough dry, then dry refinement.
Document each version with photos from the same angle. Note differences in weight distribution, texture, and perimeter accuracy. This exercise builds the judgement to select the right approach for every client.
See Also
Frequently Asked Questions
Dry cutting requires extremely sharp convex-edge scissors because dry hair offers more resistance than wet hair. Premium Japanese scissors with VG-10 or cobalt alloy steel from brands like Juntetsu, Kasho, or Hikari provide the clean cutting action needed. Dull scissors will push dry hair rather than cutting it.
Neither is universally better. Dry cutting lets you see the natural fall and movement of hair, making it ideal for layering, texturising, and personalised shapes. Wet cutting gives more control for precision lines and geometric shapes. Most stylists use both techniques depending on the desired result.
Yes. Dry cutting is a significant part of Japanese hairdressing technique. Japanese scissors with their convex hamaguri-ba geometry are specifically designed to perform well on both wet and dry hair. Many Japanese stylists finish with dry cutting refinements after initial wet cutting.