The Break-In Period: Why New Shears Need 10 Clients Before Peak Performance
You just opened the box. Brand new shears. The steel catches the light. The action is smooth. Everything about them screams “ready to go.”
You pick up your first section of hair, close the blades, and something feels off. Not bad exactly, but not what you expected. A little stiff. A little grabby. Not the buttery smooth cut the reviews promised.
So you do what any reasonable person does: you assume something is wrong. You fiddle with the tension screw. You wonder if you got a defective pair. You start composing an email to customer service.
Stop. Nothing is wrong. Your shears are doing exactly what they are supposed to do. They just are not finished yet.
Narashi-Giri: The Concept Western Training Skips
In Japanese professional training, new shears come with an explicit break-in instruction called narashi-giri (慣らし切り). The term translates roughly to “break-in cutting” or “acclimatization cutting.”
According to manufacturer care documentation (Naruto Scissors publishes specific narashi-giri instructions), the recommended protocol is to start with soft hair for approximately 10 clients before moving to regular, full-service use.
This is not a suggestion. It is a defined stage in the shear’s lifecycle that Japanese stylists learn about during training. American cosmetology programs do not cover this concept at all, which is why so many stylists in the US experience that first-day disappointment with expensive new tools.
What Is Actually Happening Inside Your Shears
The break-in period is not mystical. It is mechanical. Several physical processes are happening simultaneously during the first 10 to 20 haircuts:
1. Blade Surface Seating
The two blade surfaces that ride against each other at the pivot point (the area called the hit point or half-moon, ヒットポイント/半月 in Japanese) need to wear into each other. Even on precision-machined shears, there are microscopic irregularities on these contact surfaces.
During the first several uses, those tiny high spots polish down. The two surfaces gradually conform to each other, creating a smoother, more consistent ride. This is why the action feels stiffer at first and gradually smoothes out.
2. Return Burr Formation
This is the part Naruto’s care guide specifically warns about. During the first cuts, a return burr (返り刃, kaeriba) forms on the blade edge. This is a microscopic fold of metal at the very edge of the blade, created by the cutting action.
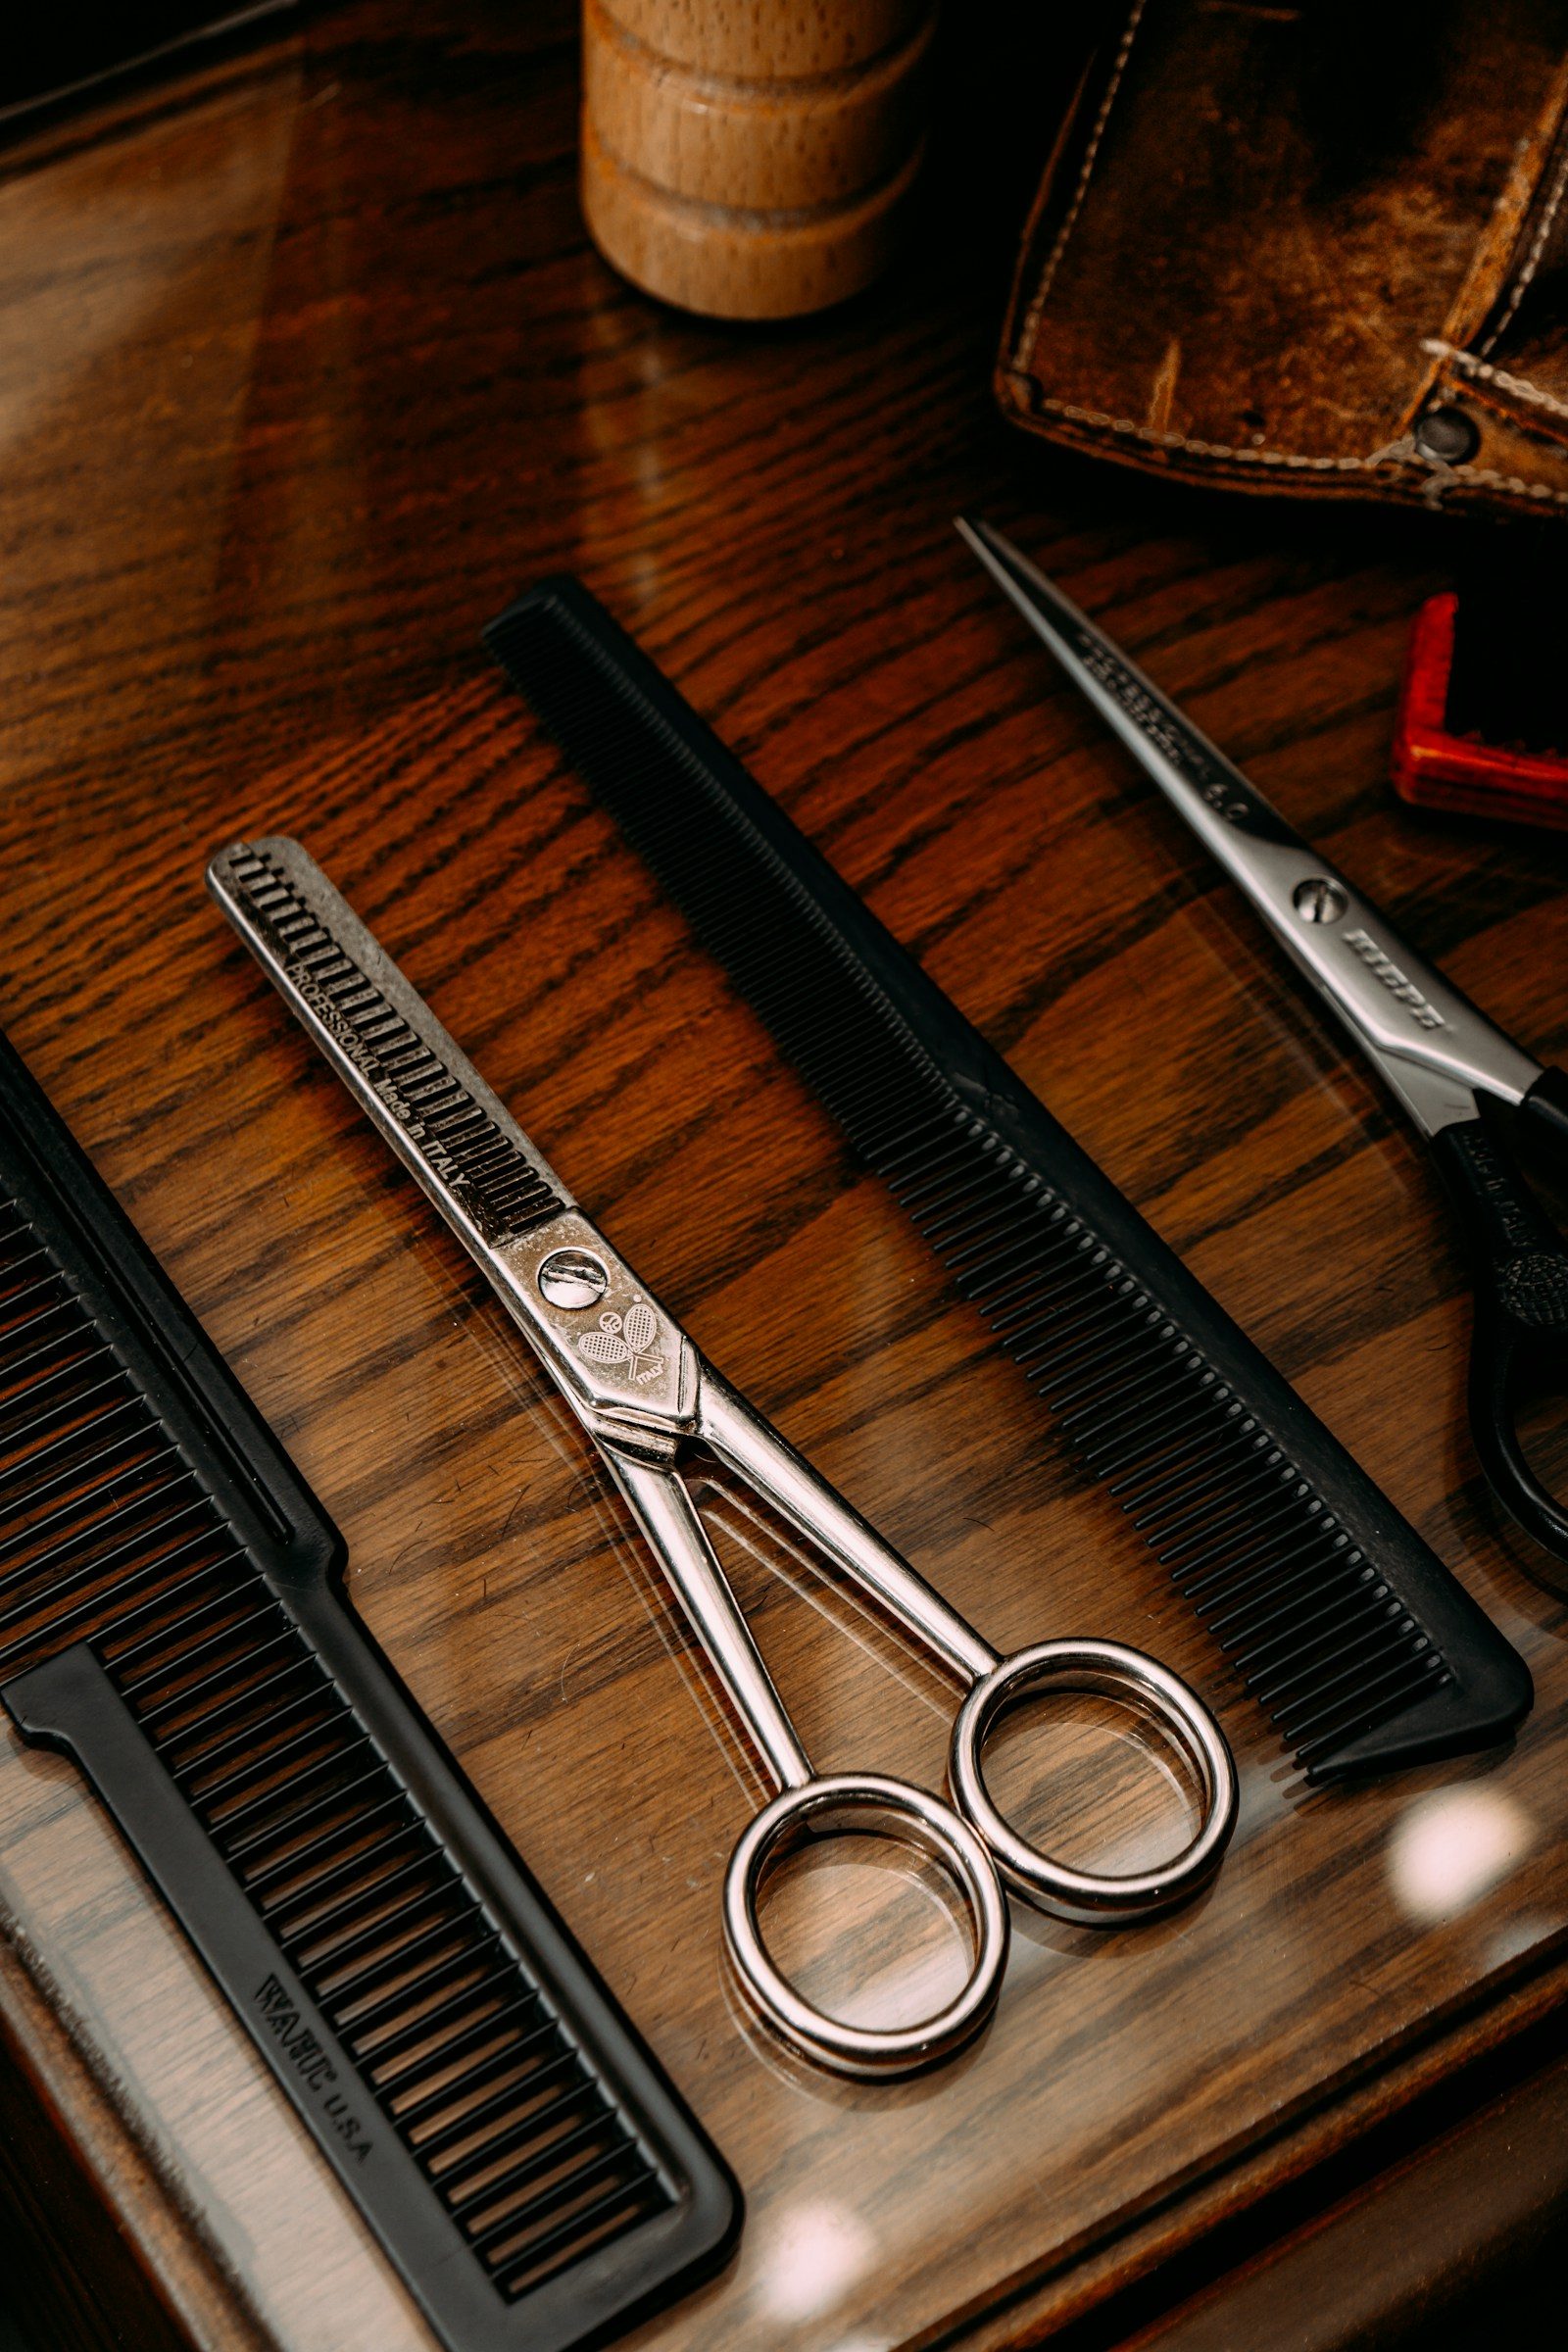
The return burr is normal. It happens on every new blade. During break-in, you need to carefully wipe both blade surfaces with a chamois leather cloth (セーム革, semu kawa) after each client. This removes the return burr as it forms, allowing the edge to settle into its optimal cutting geometry.
If you skip this step, the burr can fold back and forth, eventually causing micro-chips at the edge. Those chips create the grabby, uneven cutting feel that many stylists blame on the shears themselves.
3. Tension System Settling
The pivot screw and any washers, bearings, or disc components are also seating during break-in. The tension you set on day one will drift slightly as these components settle. Plan to check and readjust tension daily during the first two weeks.
This is normal mechanical settling, not a manufacturing defect. Even the most precisely engineered shears will experience some tension change as the pivot components wear into their permanent positions.
4. Steel Stress Relaxation
The steel itself undergoes subtle changes during initial use. Heat treatment creates internal stresses in the metal. While tempering resolves most of these, very fine residual stresses can redistribute during the first period of use. This is why some manufacturers include sub-zero treatment (サブゼロ処理) in their production process, which helps minimize this effect.
The 10-Client Protocol
Based on Japanese manufacturer recommendations, here is how to handle the break-in period properly:
Clients 1 through 3: Soft hair only
Start with clients whose hair is fine, clean, and freshly washed. Wet cuts on soft hair create the gentlest possible break-in conditions. Avoid dry cutting, thick coarse hair, or chemically treated hair during these first sessions.
After each of these clients:
- Open the blades fully
- Wipe both inner blade surfaces with chamois leather, moving from pivot to tip
- Wipe the outer blade surfaces
- Check tension and adjust if needed
- Apply a small drop of oil to the pivot
Clients 4 through 7: Normal use, extra care
You can begin using the shears on regular clients. Continue wiping with chamois after each client. Continue checking tension daily. The action should be noticeably smoother than day one.
If you notice any hair folding or pushing rather than cutting cleanly, the return burr may need attention. Wipe both blade surfaces again with chamois, paying particular attention to the cutting edge area.
Clients 8 through 10: Full use, monitoring
By now the shears should feel close to their final performance level. The action is smooth, the cut is clean, the tension has stabilized. Continue chamois wiping after each client (this should become a permanent habit, not just a break-in step).
After client 10, your shears are broken in. The blade surfaces are seated, the return burr has been managed, and the pivot components have settled. This is when your shears start performing the way the manufacturer intended.
What NOT to Do During Break-In
Do not crank the tension tight to compensate for stiffness. The stiffness is from surfaces that have not seated yet. Over-tightening will not fix that. It will cause excessive wear on the ride surfaces and can damage the edge.
Do not “test” the shears on dry, coarse hair immediately. Dry hair is significantly more abrasive than wet hair. Breaking in on dry hair is like breaking in new running shoes on a marathon. Start gentle.
Do not skip the chamois wiping. This is the single most important break-in action. The return burr management during the first 10 clients determines how your edge settles. Tissue paper is not a substitute; it is abrasive at a microscopic level and can actually damage the edge.
Do not send them for sharpening. Your brand new shears do not need sharpening. The edge is factory-set and at its best. If something feels wrong during break-in, it is almost certainly a tension issue or a return burr that needs wiping, not a sharpness problem.
Do not compare them to your old shears during break-in. Your old shears are fully broken in. Their surfaces are perfectly seated. Their tension is settled. Comparing a broken-in shear to a new one during the first week is not a fair test of either tool.
Why Different Shears Break In Differently
Not all shears take the same amount of time to break in. Several factors affect the length and intensity of the break-in period:
Steel hardness. Harder steels (62+ HRC) take longer to break in because the surfaces are more resistant to polishing. Softer steels (56 to 58 HRC) seat faster.
Blade grind type. Hamaguri (convex) ground shears typically have a longer break-in than flat-ground shears because the convex surfaces have more contact area that needs to seat.
Pivot system. Ball-bearing pivot systems generally break in faster than friction-based flat screws because the bearing surfaces are pre-polished. Disc operation systems may take slightly longer as the synthetic disc seats.
Manufacturing quality. Higher-quality manufacturing means tighter tolerances, which means less break-in is needed. A precision-machined shear from a premium manufacturer might feel 90% broken in from the box. A mid-range shear might need the full 10-client protocol.
The Patience Payoff
Here is what happens after proper break-in: your shears perform better than they did out of the box. Not slightly better. Noticeably better.
The action becomes smoother because the ride surfaces have polished each other. The cut becomes cleaner because the edge has shed its return burr and settled into its working geometry. The tension becomes more stable because the pivot components have found their permanent position.
This is why experienced Japanese stylists never judge a new shear on day one. They know the shear they are holding at client number one is not the same shear they will be holding at client number twenty. The tool has to finish becoming itself.
After Break-In: Ongoing Maintenance
The chamois wiping you did during break-in should become your daily routine. Japanese manufacturer recommendations are consistent on this: wipe blades with chamois leather 2 to 3 times daily, oil the pivot regularly, and check tension at least weekly.
These are not elaborate rituals. Wiping takes ten seconds. Oiling takes five. Tension check takes three. Total daily investment: under a minute. The return on that minute is shears that maintain their performance for months longer between sharpenings.
Trax Scissors publishes maintenance documentation that recommends oiling every three weeks at minimum, with more frequent oiling recommended for heavy daily use. The exact interval depends on how many clients you see and what cutting conditions you work in.
The Takeaway
Your new shears need a break-in period. This is normal, expected, and documented by Japanese manufacturers. The narashi-giri concept is not some ancient mystical practice. It is practical mechanical knowledge about how precision tools reach their optimal performance.
Ten clients. Chamois leather. Patience. That is the formula.
Every pair of great shears was once a pair of stiff, slightly disappointing new shears. The difference between stylists who love their tools and stylists who regret their purchase often comes down to whether they gave the shears time to break in properly.
Give yours that time. The results are worth the wait.
Sources: Narashi-giri protocol and return burr management from Naruto Scissors care documentation. Chamois leather and daily maintenance standards from cross-manufacturer Japanese care guides. Trax Scissors maintenance intervals from published maintenance documentation. Pivot system and heat treatment details from industry technical references.

