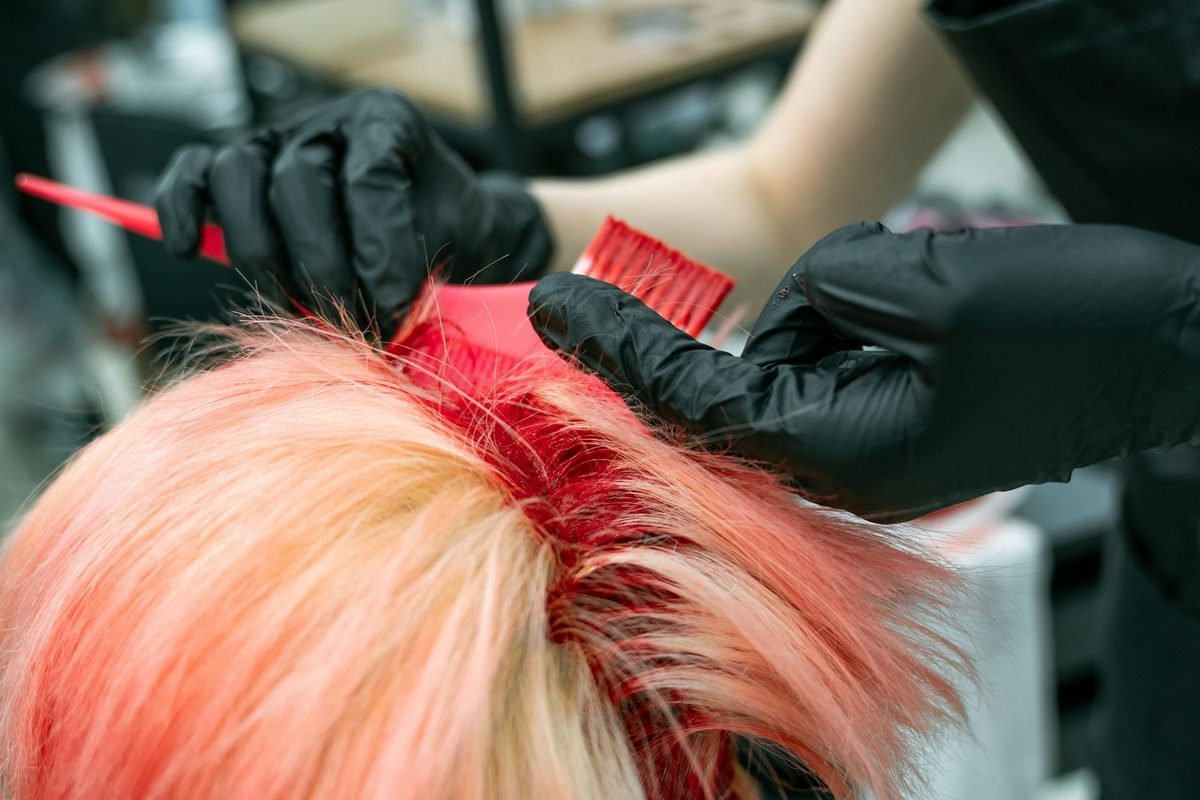
Texturizing
Description
Texturizing removes weight and adds movement within a haircut without changing the overall shape. Learn the tools, methods, and when to texturize vs thin.
Texturizing (テクスチャライジング)
Quick look
- What it is: A category of techniques that create movement, separation, and visual texture in the hair
- Includes: Point cutting, notching, thinning, channel cutting, and more
- Key concept: Texturizing is the goal; the specific technique is the method
- Tools: Multiple scissor types depending on the approach
Why it matters
Texturizing is less a single technique and more a family of approaches that all serve the same purpose: breaking up uniform density to create movement. Modern haircutting relies on texturizing to make styles look lived-in rather than blocky or helmet-like.
The distinction between texturizing and simple bulk removal is intent. Thinning removes bulk. Texturizing removes bulk in specific patterns to create a visual effect. You might use the exact same tool for both, but where and how you use it changes the outcome completely.
The main texturizing methods
Point cutting. Using the blade tips to snip into the ends. Creates soft, piece-y ends. Best with a narrow straight blade and convex edge. See Point Cut for the full breakdown.
Notching. Cutting small V-shaped chunks out of the ends. More aggressive than point cutting, creates wider separation between pieces. A standard straight blade works fine here. Sections are held taut and cut at angles.
Channel cutting. Cutting a narrow channel through a section from mid-shaft to ends. Removes a strip of hair to create separation. Requires steady hands and sharp scissors. Works well with willow blades.
Twist cutting. Twisting a section, then cutting into the twist. Creates random, organic texture because hairs at different positions in the twist get cut at different lengths. Good for lived-in, beachy looks.
Thinning shear texturizing. Using thinning shears with strategic placement to create internal texture rather than just removing bulk. Low tooth counts (10 to 15 teeth) produce chunky texture. High tooth counts (38+) produce soft, diffused texture.
Recommended scissors
There’s no single best tool for texturizing because the technique category is so broad.
| Method | Tool |
|---|---|
| Point cutting | Narrow straight blade, convex edge, 5.0 to 5.5 inch |
| Notching | Standard straight blade, any edge, 5.5 to 6.0 inch |
| Channel/twist cutting | Willow or straight blade, convex edge, 5.5 to 6.0 inch |
| Thinning shear work | Thinning shears matched to desired tooth profile |
Technique notes
The biggest mistake in texturizing is doing too much. You can always go back and remove more texture. Start conservative and check the result before continuing.
Work on dry hair whenever possible. Wet hair hides the texture you’re creating. Dry cutting lets you see the movement and separation in real time.
Different hair types respond differently. Fine hair shows texturizing more dramatically. Coarse hair absorbs it. Curly hair may need very little texturizing because the curl pattern already creates movement.
Related links
| Point Cut | Thinning | Dry Cut | Willow Blade | Tooth Tip Profiles |
See Also
Verified Sources
- Primary Pivot Point Academy — Texturizing Techniques (manufacturer official)
- Tertiary Zora Shears — Advanced Texturizing (professional blog)
Frequently Asked Questions
Intent. Thinning removes bulk. Texturizing removes bulk in specific patterns to create a visual effect — movement, separation, lived-in finish. You might use the exact same tool for both, but where and how you use it changes the outcome completely. Texturizing is less a single technique and more a family of approaches (point cutting, notching, channel cutting, twist cutting, thinning-shear work) that all serve the same purpose: breaking up uniform density to create natural-looking movement rather than a helmet-like silhouette.
Match the method to the desired outcome. Point cutting (narrow straight blade, convex edge, 5.0 to 5.5 inch) produces soft piece-y ends. Notching (standard straight blade, 5.5 to 6.0 inch) creates wider chunky separation between pieces. Channel and twist cutting (willow or straight blade, convex edge) create organic random texture. Thinning-shear texturizing with low tooth counts (10 to 15 teeth) produces chunky texture; high tooth counts (38+) produce soft diffused texture. The tool matches the intent.
Doing too much. You can always go back and remove more texture; you cannot put it back once it is gone. Start conservative and check the result before continuing. Work on dry hair whenever possible because wet hair hides the texture you are creating. Different hair types also respond differently: fine hair shows texturising dramatically, coarse hair absorbs it, and curly hair may need very little because the curl pattern already provides movement that heavier texturising could disrupt.
Comments & questions
Questions or feedback on this topic? Add a comment below.