Shear Anatomy Fundamentals
Understand every component of a professional shear so you can diagnose issues, communicate with sharpeners, and teach clients.
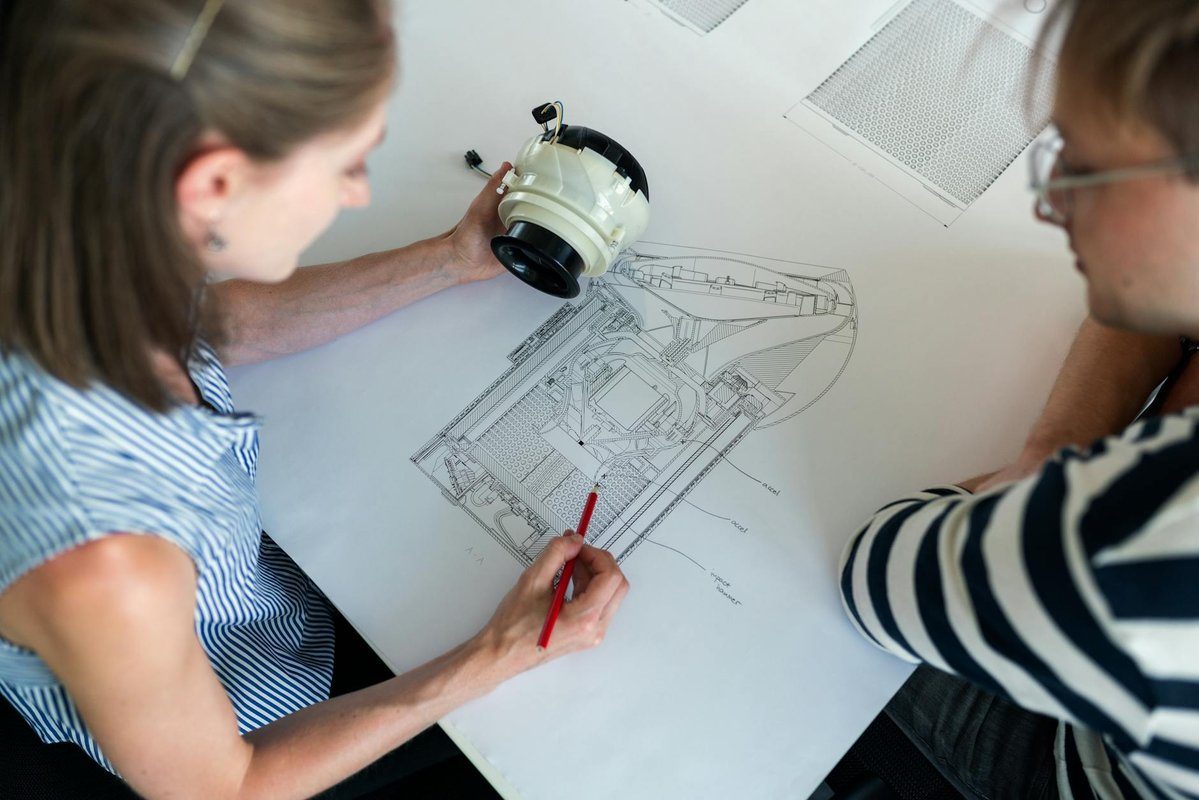
Component overview
| Part | Function | Tips |
|---|---|---|
| Tips | Precision cutting, detailing | Protect with blade guards; chips show first |
| Blades | Cutting surface shaped by edge type | Match blade geometry with Blade Types |
| Ride line | Interior polished strip that ensures smooth glide | Needs proper sharpening; avoid DIY fixes |
| Hollow grind | Scoop on the inside blade face that reduces friction | Look for clean, even polish |
| Spine | Adds rigidity; thicker spines support power cuts | Inspect for warping after drops |
| Pivot screw/dial | Holds blades together and sets tension | Adjust minimally; note original setting |
| Finger rings | House index/middle fingers; provide leverage | Use inserts to customize fit |
| Thumb ring | Controls opening motion | Should allow natural movement without overreaching |
| Finger rest (tang) | Stabilizes pinky and distributes weight | Tighten periodically |
Diagnosing common issues
- Snagging at tips: Often caused by micro-chips or misaligned ride line; document and send to a pro sharpener.
- Clicking or catching: Pivot screw may be loose; check tension and inspect washer/bearing.
- Uneven closing pressure: Hollow grind could be uneven after poor sharpening; request a factory reset.
- Blade separation: Tension too loose or washers worn. Replace washers if grooves are visible.
Communicating with sharpeners
Provide:
- Shear make/model, steel type, and preferred edge finish
- Service history (dates, prior issues)
- Specific symptoms with photos if possible
Use a shared maintenance log so sharpeners can track adjustments.
Teaching clients
Use anatomy knowledge during consultations:
- Explain why convex edges feel smoother and require gentler handling.
- Show how proper storage prevents tip damage, reinforcing aftercare when clients invest in shears for home use.
The hit point (ヒットポイント, hitto pointo)
The hit point is the exact location where the two blades make contact during a cut. It is not a fixed spot. As you close the shear, the hit point travels along the blade from heel to tip. At any given moment during the closing motion, only a small section of the blades is actually touching.
This traveling contact point is what makes scissors cut rather than crush. If the entire blade length pressed together at once, the hair would fold instead of shearing cleanly. Proper blade curvature and tension ensure that the hit point moves smoothly and consistently from heel to tip with each closing stroke.
When a sharpener talks about “ride” or “half-moon” (半月, hangetsu), they are referring to the polished contact surface near the pivot where the blades bear against each other. This ride surface keeps the blades aligned as the hit point travels. Wear on the ride surface is one of the first things a skilled sharpener checks during servicing.
Static blade vs. moving blade
Professional shears have two distinct blades with diferent roles. The static blade (静刃, seiba) is the one that rests on your fingers. It stays relatively still during cutting. The moving blade (動刃, dōba) is controlled by your thumb and does the opening and closing.
Understanding this distinction matters for two reasons. First, wear patterns differ between the two blades. The moving blade typically shows more wear along the edge because it does more work. Second, when you describe a problem to a sharpener, specifying which blade has the issue (static or moving) speeds up diagnosis considerably.
The hollow grind (裏スキ, urasuki)
The urasuki is the concave surface ground into the inner face of each blade. This hollow is one of the most critical features of a professional shear. It reduces the contact area between the two blades so they only touch at the point of intersection during cutting. Less contact means less friction, less resistance, and less hand fatigue.
Here is what most stylists do not realize: the urasuki gets shallower with each sharpening. Every time a sharpener works on the inner face, a small amount of material is removed, and the hollow becomes less deep. After roughly 20 to 30 sharpenings over the life of a shear, the urasuki may be nearly gone. At that point, the blades have more surface contact, friction increases, and the shear starts to feel heavy or draggy even right after a fresh edge.
This is one of the reasons premium shears eventually reach end of life. The steel at the edge may still be fine, but the geometry that makes the shear cut well has been ground away. A poorly ground hollow leads to grabbing or folding of hair rather than clean cutting.
Next steps
- Print or save this anatomy chart for reference during maintenance.
- Pair with the Maintenance Basics checklist to monitor wear.
- Use the terminology when filling out the Brand Comparison Matrix.
See Also
Verified Sources
- Secondary 🇯🇵 SisRma — Scissor Information Portal (industry reference)
- Primary 🌐 Mizutani Scissors — Global (Japan HQ) (manufacturer official)
- Primary 🌐 Joewell Scissors — Official Japan (manufacturer official)
Frequently Asked Questions
The key components are: blades (cutting edges), pivot screw (joins the blades and controls tension), finger rings (thumb and finger), tang (the finger rest), and the ride area (where blades contact during cutting). The blade tip, belly, and heel each serve different cutting functions.
The pivot screw is the central fastener that joins both blades and determines tension. Flat screws require a tool to adjust, while click-dial systems allow micro-adjustments. Ball-bearing pivots from brands like Naruto provide the smoothest action but cost more.
The tang (also called the finger brace or rest) is the small hook extending from the finger ring. It provides leverage and stability during cutting. Some stylists remove it for a cleaner grip, but most find it essential for control during precision work.